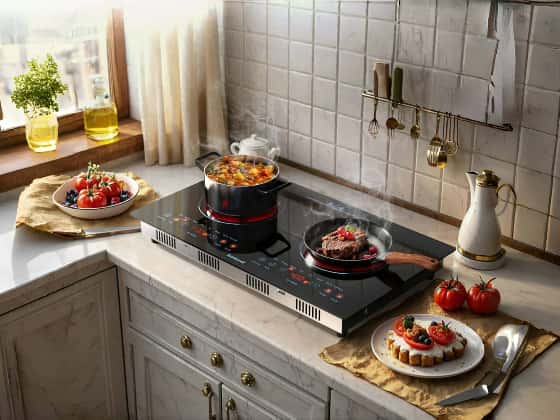
A clean electric cooktop is more than simply an aesthetic choice; it is vital for maximum cooking performance and appliance longevity. However, many home cooks experience tenacious stains, burnt-on food, and the concern of ruining their cooktop's sensitive surface during cleaning.
Electric cooktops, particularly 30-inch versions, necessitate precise cleaning strategies to keep their perfect appearance without jeopardizing their operation. Whether you're dealing with minor spills or weeks of accumulated dirt, this comprehensive guide will show you through the most effective ways to safely and properly clean your electric stove top.
This step-by-step guide will teach you proven cleaning techniques, safety considerations, and professional recommendations for keeping your cooktop looking brand new. We'll go over everything from routine maintenance to dealing with the worst burnt-on problems.
Essential Safety Precautions Before Cleaning
Before diving into cleaning techniques, let's focus on crucial safety measures that protect both you and your electric cooktop. Safety isn't just a precaution—it's the foundation of proper cooktop maintenance.
Proper cooling time requirements
Your electric cooktop needs adequate cooling time before any cleaning attempt.Never clean a hot stovetop, as temperatures can exceed 200 to 500 degrees Fahrenheit while cooking. Wait until the surface is fully cool to the touch, or slightly heated at most. To avoid permanent damage, handle syrupy spills or melted plastics with caution while the surface is still hot—move the spill to a cool place with an oven mitt and a sharp razor blade scraper.
Electrical safety considerations
Always disconnect your electric cooktop from the power source before starting any deep cleaning process. This step is non-negotiable as water and electricity create a dangerous combination. Keep all electrical components, including:
- Spark igniters
- Wires
- Switches completely dry throughout the cleaning process
Protecting surrounding surfaces
Choosing the right cleaning tools and methods is essential for protecting your cooktop's surface. Avoid these damaging items:
- Metal scrubbers or sharp tools
- Harsh chemical cleaners
- Abrasive cleaning pads
- Steel wool
- Chlorine bleach
- Rust remover
- Ammonia
For daily maintenance, stick to manufacturer-recommended cleaners or gentle alternatives like warm water with dish soap . A clean, dry pan is crucial for preventing stains—residue and water left on cookware can leave deposits when heated . When dealing with spills, especially hot substances, use proper tools and techniques to avoid permanent surface damage.
Remember, while immediate cleaning of spills is important, safety always comes first. Unless you're dealing with a major spill like a pot boiling over, wait for the surface to cool completely. This patience helps prevent both personal injury and potential damage to your cooktop's delicate surface.
Step-by-Step Deep Cleaning Process
Let's dive into the systematic process of deep cleaning your electric cooktop, ensuring every step is executed with precision and care. Following these proven methods will help restore your cooktop's original shine while protecting its surface.
Initial surface preparation
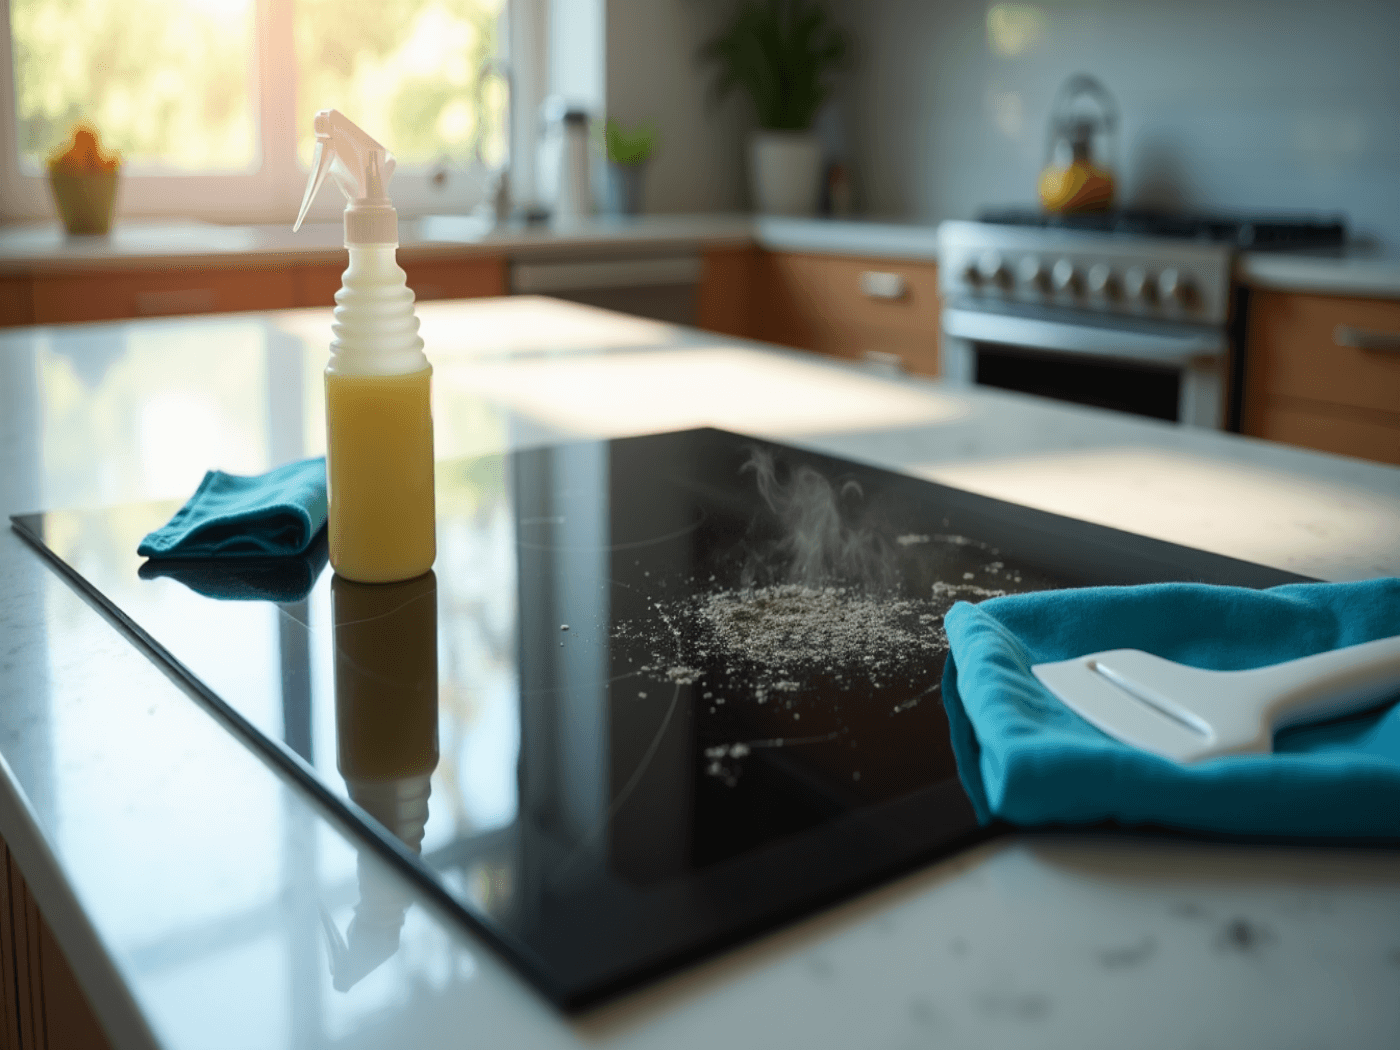
Begin by gathering your essential cleaning supplies:
- Non-abrasive cleaning pad or soft cloth
- Microfiber cloth for final buffing
- Manufacturer-recommended cooktop cleaner
- Clean, dry paper towels
Allow your cooktop to cool completely until it's just slightly warm to touch. Remove any loose debris or crumbs with a soft cloth, creating a clean canvas for deeper cleaning .
Cleaning product application techniques
Apply your chosen cleaner directly to the cooktop's surface. For optimal results, use a quarter-sized amount of cleaner for each section of your electric cooktop. If you're using a specialized cleaner, apply it in a thin, even layer across the surface.
For daily maintenance, a mixture of warm water and gentle dish soap works effectively . However, for weekly deep cleaning, use a manufacturer-recommended cleaner designed specifically for electric cooktops.
Tackling Stubborn Burnt-on Stains
When regular cleaning methods fall short, it's time to bring out the heavy artillery for those stubborn burnt-on stains on your electric cooktop. These challenging spots require specific techniques and solutions to restore your cooktop's pristine appearance.
Specialized cleaning solutions
For tough burnt-on residue, several proven cleaning solutions can help:
-
Natural cleaners:
- Baking soda paste (3 parts baking soda to 1 part water)
- White vinegar spray for degreasing action
- Toothpaste containing baking soda (15-minute application)
- Lemon juice for acidic cleaning power
Pro tip: For particularly stubborn stains, let your chosen cleaning solution sit for 15-20 minutes to help break down the residue
Conclusion
Maintaining a pristine electric cooktop requires dedication, proper techniques, and the right cleaning supplies. Regular maintenance combined with immediate attention to spills prevents tough stains and extends your cooktop's lifespan. Safety remains paramount - allowing proper cooling time and using appropriate cleaning tools protect both you and your appliance.
Smart cleaning habits make a significant difference. Daily quick wipes after use, weekly deep cleaning sessions, and proper stain-specific treatments keep your cooktop looking new. Remember that gentle, consistent care works better than aggressive cleaning methods that might damage the surface.
Your electric cooktop serves as the heart of your kitchen, deserving careful attention and maintenance. Following these cleaning guidelines helps preserve its functionality and appearance, ensuring years of reliable cooking performance. Most importantly, the right cleaning routine transforms this seemingly daunting task into a manageable part of your kitchen maintenance schedule.

