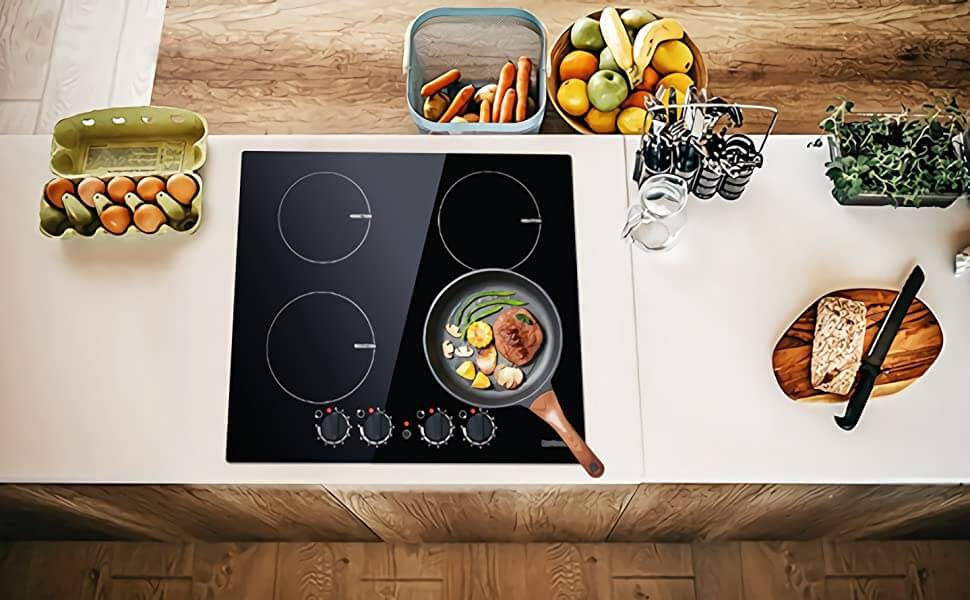


Electric hobs and cooktops have revolutionized the way we cook in our kitchens. Gone are the days of relying solely on gas burners for our culinary needs. With electric hobs, we have a wide range of options to choose from - electric, induction, and ceramic. Each type offers its own set of benefits and features, catering to the diverse needs and preferences of home cooks.
Preparing for the Installation: Tools and Materials Needed
Before diving into the installation process, it's essential to gather all the necessary tools and materials. Here's a comprehensive list of what you'll need:
- Screwdriver
- Adjustable wrench
- Electrical tape
- Wire cutters
- Wire nuts
- Level
- Drill
- Measuring tape
- Silicone caulk
- Mounting brackets (if applicable)
- Electrical wire (ensure it matches the specifications of your hob)
- Circuit breaker (if required)
Having these tools readily available will streamline the installation process and ensure that you have everything you need to complete the job successfully.
Safety Precautions During Installation
Safety should always be a top priority when installing any electrical appliance, and electric hobs are no exception. Here are some essential safety precautions to keep in mind:
-
Turn off the power: Before you begin the installation, make sure to turn off the power supply to the area where you'll be working. This will prevent any accidental electrical shocks or short circuits.
-
Use proper grounding: Ensure that your electric hob is properly grounded to avoid electrical hazards. Follow the manufacturer's instructions carefully to ensure a safe and secure installation.
-
Avoid water contact: Keep water away from the installation area, especially when dealing with electrical components. Water and electricity do not mix well and can lead to dangerous situations.
By following these safety precautions, you can minimize the risk of accidents and ensure a safe installation process.

Step-by-Step Guide to Installing an Induction Hob
Induction hobs offer a unique cooking experience with their advanced technology. If you've chosen an induction hob for your kitchen, here's a step-by-step guide to installing it:
Step 1: Measure and Mark
Similar to installing an electric hob, start by measuring the dimensions of your induction hob and marking the installation area on your countertop. Use a level to ensure accurate markings.
Step 2: Cut the Countertop
Using a drill and a jigsaw, carefully cut along the marked lines to create a hole for the induction hob. Take your time and follow the manufacturer's guidelines for a precise cut.
Step 3: Connect the Wiring
Connect the electrical wires from the induction hob to your home's electrical supply. Follow the manufacturer's instructions and secure the connections with wire nuts. Use electrical tape to cover any exposed wires.
Step 4: Secure the Hob
Place the induction hob into the cutout hole and secure it in place using the provided mounting brackets or screws. Ensure that the hob is level and flush with the countertop surface.
Step 5: Test and Adjust
Turn on the power supply and test the induction hob. Check if all the burners are functioning properly and adjust the temperature settings as needed. Familiarize yourself with the hob's controls and features for optimal cooking experience.
Common Troubleshooting Tips During Installation
Despite following the installation steps carefully, you may encounter some common issues or challenges. Here are a few troubleshooting tips to help you overcome them:
-
Uneven heating: If you notice uneven heating on your electric hob, make sure the cookware is properly aligned with the heating elements. Adjust the pan position to ensure even heat distribution.
-
No power: If your hob is not receiving power, check the circuit breaker to ensure it hasn't tripped. If the breaker is fine, double-check the wiring connections and make sure they are secure.
-
Error codes: Induction hobs may display error codes if there's an issue with the cookware or the hob itself. Consult the manufacturer's manual to identify the specific error code and follow the recommended troubleshooting steps.
-
Overheating: If your ceramic hob is overheating, ensure that the ventilation beneath the hob is not blocked. Clean any debris or obstructions to allow proper airflow and prevent overheating.
By addressing these common troubleshooting issues, you can ensure a smooth and successful installation process.
Conclusion and Final Thoughts on Installing an Electric Hob
Installing an electric hob is a rewarding task that can enhance your culinary experience in the kitchen. Whether you choose an electric, induction, or ceramic hob, each type offers its own unique advantages and features. By following the step-by-step guide outlined in this article and taking the necessary safety precautions, you'll be able to install your electric hob with confidence.
SHOP NOW