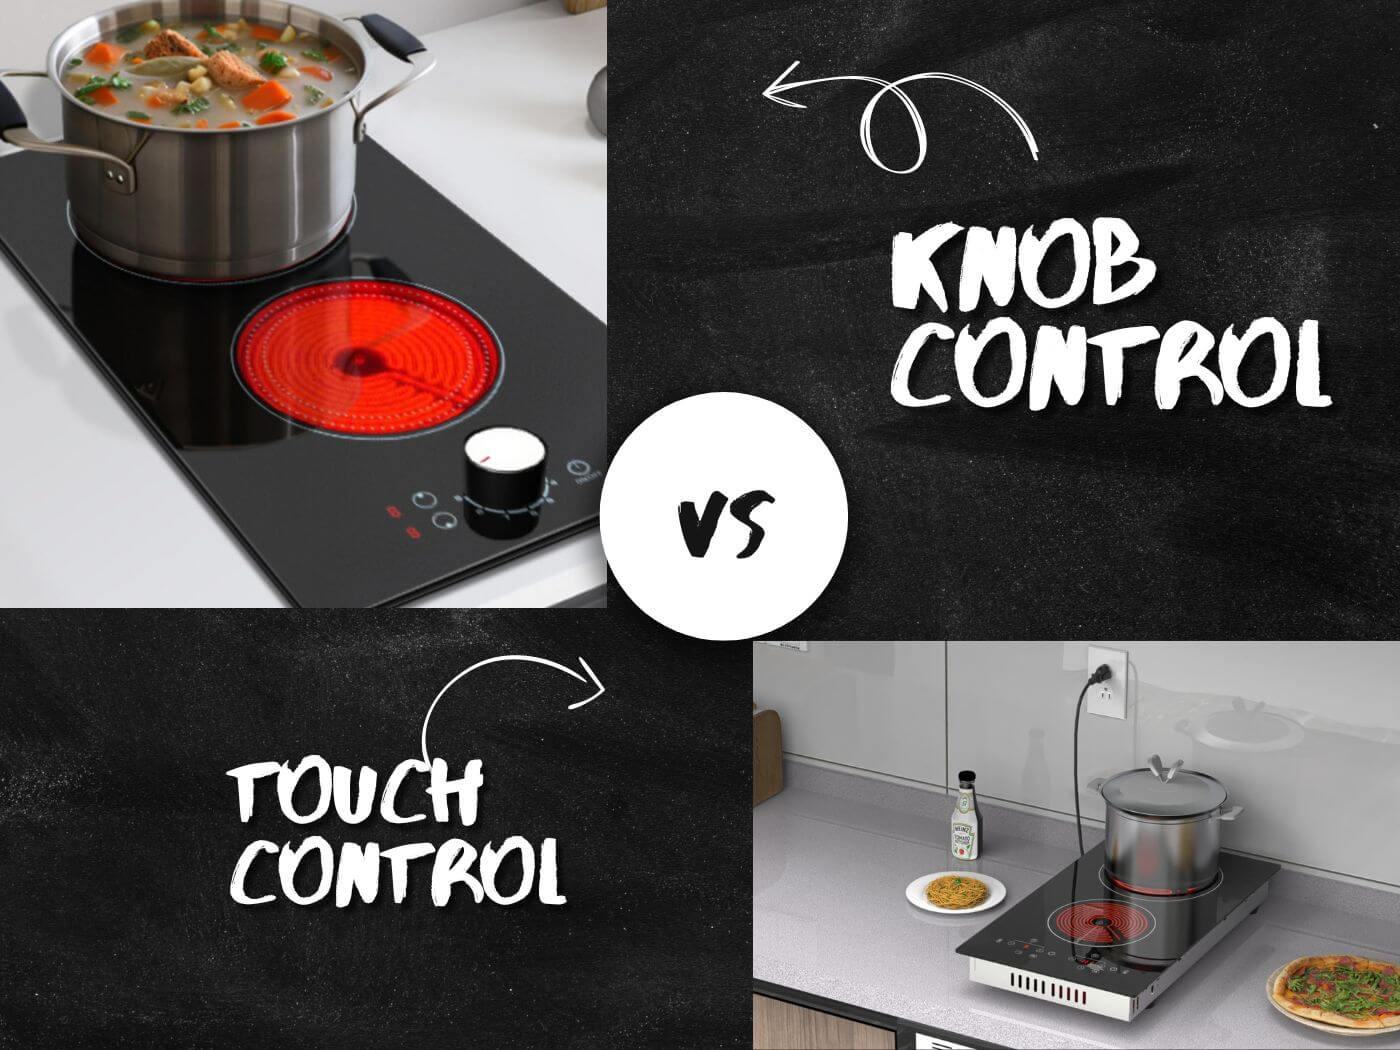


You don't need an oven to bake delicious cakes - Karinear ceramic cooktop is all you need. A ceramic cooktop, also known as a ceramic hob or electric ceramic hob, allows you to bake right on the tempered ceramic glass surface. With its even heat distribution and controllable temperature, you can achieve perfect results every time.
This method is simple and easy, requiring no specialized equipment. You'll learn how to prepare your baking setup on the electric cooktop or ceramic stovetop, make the cake batter, bake on the cooktop, and cool your delicious homemade cake.
Necessary Equipment
To bake delicious cakes on your ceramic cooktop, you'll need a few essential pieces of equipment:
-
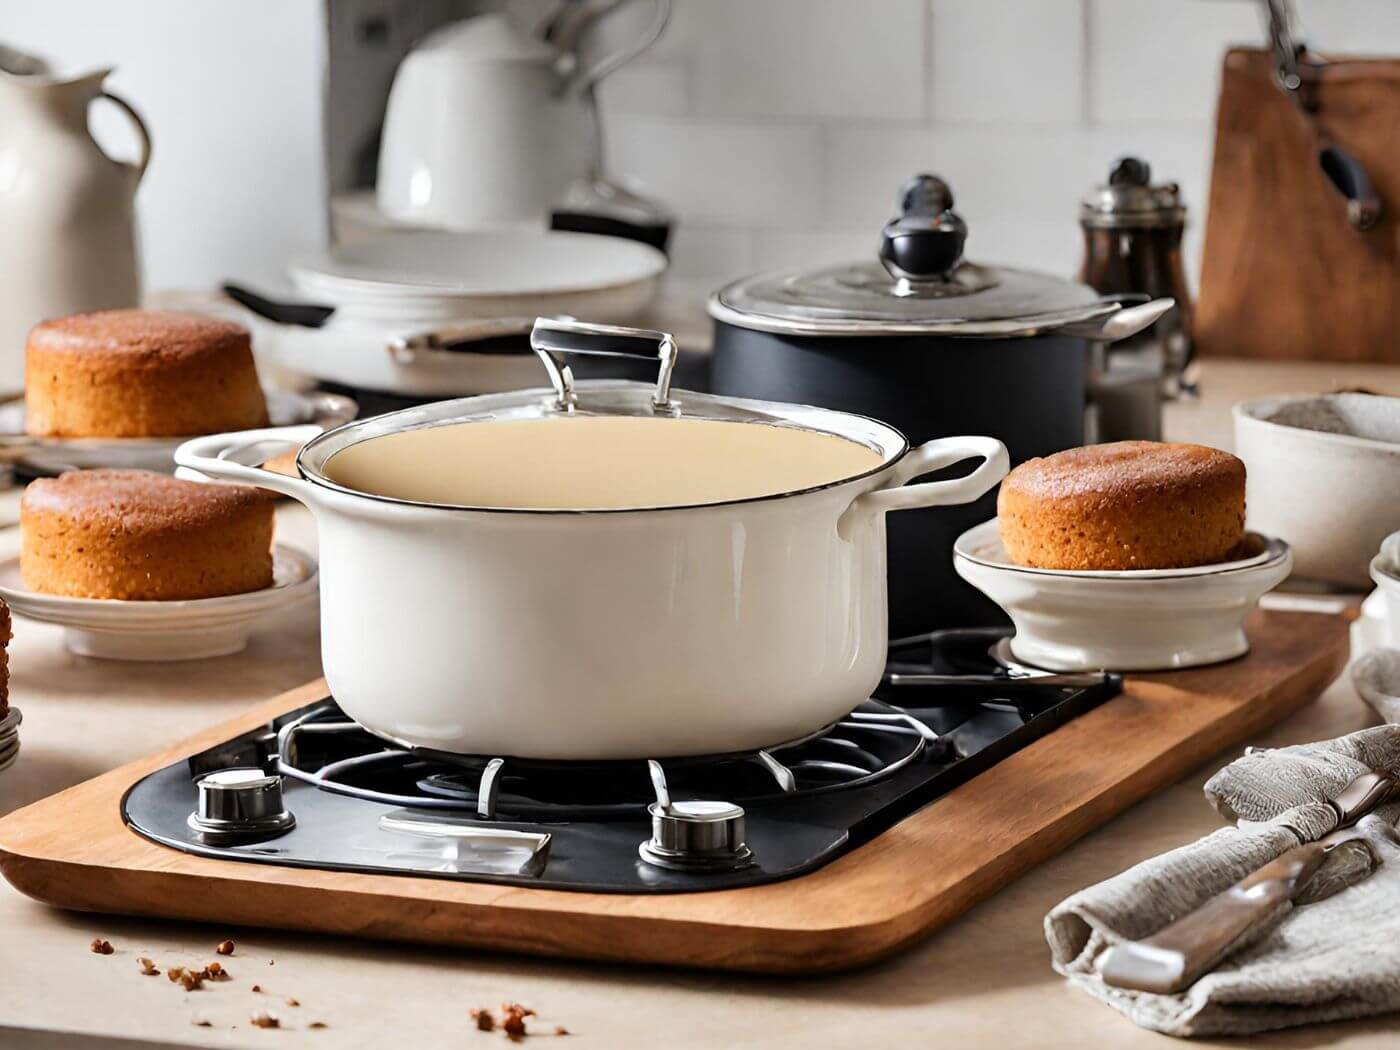
A deep pot with thick edges that can fit inside the cooktop. The pot should be deep enough to accommodate the cake or baked item, leaving space at the top for heat circulation.
-
Something to elevate the cake or baked item inside the pot, such as a trivet, perks, or spoons arranged to create a platform. This prevents the bottom from burning.
-
Aluminum foil to cover the pot, tucking the foil around the sides to create a seal.
Additionally, you'll require:
- Baking pans coated with butter and dusted with flour, lined with parchment paper.
- A steamer basket or glass cooking dish to place inside the pot, filled with a layer of dried beans or pebbles to create a buffer.
- A heavy-bottomed frying pan or skillet for melting butter.
- A heavy-bottomed pan with a well-fitting lid.
Specialized bakeware like Angel Food Cake Pans, Brownie Pans, Bundt Pans, Cast Iron Skillets, Cheesecake Pans, Extra-Deep Cake Pans, and Loaf Pans can also enhance your baking experience on the ceramic cooktop.
| Essential Tools | Description |
|---|---|
| Digital Scale | For accurate baking measurements |
| Digital Probe Thermometer | To monitor temperature-sensitive baking projects |
| Half-Sheet Pans | Versatile for baking cookies, roasting, and mise en place |
| Ice Cream Maker | Produces better results than a stand mixer attachment |
| Serrated Knife | Essential for slicing breads, leveling cakes, and cutting biscotti |
| Stand Mixer | Superior for creaming, whipping, and mixing heavy batters and doughs |
Having the right equipment ensures your ceramic cooktop baking endeavors are successful and enjoyable.
Preparing the Baking Setup
Prepping the Cooktop
Before you begin baking, it's crucial to prepare your ceramic cooktop properly. Open a kitchen window to allow proper ventilation, as the pot can create a lot of smoke during the baking process. Carefully place the cake pans into the steamer basket or dish, ensuring the bottom of the pans does not touch the bottom. This step is essential to prevent burning or uneven cooking.
Heating and Covering
- Preheat the pan for 15 minutes on medium heat before adding the batter. This step helps ensure even cooking throughout the baking process.
- Once the pan is preheated, place it on the stovetop over low heat. This low and steady heat will allow the cake to cook gradually and evenly.
- Cover the pan with a lid to trap the heat inside, creating an oven-like environment for your cake to bake perfectly.
| Cooktop Safety | Precautions |
|---|---|
| Cookware | Use cookware with flat, smooth bottoms suitable for glass/ceramic surfaces. Avoid rough or uneven bottoms that could scratch or damage the surface. |
| Handling | Be careful when sliding or dragging cookware across the glass/ceramic top to prevent scratching. |
| Heat Sources | Avoid open flames or placing hot items directly on the glass/ceramic cooktop, as this can potentially crack or damage the surface. |
| Cleaning | Clean the cooktop surface after use by waiting for it to cool, then using a glass cleaner and a single-edge razor blade to remove any stuck-on food. |
By following these steps and taking the necessary precautions, you'll be well on your way to baking delicious cakes on your ceramic cooktop.
Making the Cake Batter
To make the cake batter for baking on your ceramic cooktop, you have a few options. You can follow a classic recipe like this vanilla cake or try a rich chocolate cake made stovetop-style.
Chocolate Cake Batter
- In a bowl, combine the dry ingredients: flour (sifted for lump-free batter), cocoa powder, baking soda, and a pinch of salt.
- In a separate bowl, mix the wet ingredients: melted butter, sugar, eggs, milk (or coffee-infused milk for deeper chocolate flavor), and vanilla extract.
- Gradually incorporate the dry mixture into the wet ingredients, stirring gently until just combined. Avoid over-mixing.
| Batter Tips | Description |
|---|---|
| Pan Prep | Grease the baking pans well to prevent sticking. |
| Measurements | Use a kitchen scale for precise measurements. |
| Cocoa Bloom | Mix cocoa powder into hot liquid to intensify flavor. |
| No Mixer | Prepare batter by hand for best results. |
Once the batter is ready, divide it evenly between the prepared baking pans. For extra moistness, you can poke holes in the cooled cake and soak it in chocolate milk before frosting.
General Instructions
Regardless of the recipe, there are a few key steps:
- Grease the baking pans thoroughly.
- Pour the batter into the prepared pans, distributing evenly.
- Test for doneness by inserting a toothpick - it should come out clean when the cake is done.
- Let the cake cool for 5 minutes before removing from the pans.
Batters with higher fat content tend to work better for stovetop baking, developing a nice crust while the interior cooks through evenly.
Baking on the Stovetop
Preheating and Cooking
-
Preheat the baking pan or skillet on high heat for 5 minutes before adding the batter. This initial high heat helps create an oven-like environment for even cooking.
-
Reduce the heat to medium or medium-low, and place the batter-filled pan or skillet on the stovetop. For a skillet, consider preheating it for 20 minutes before adding the batter.
-
Cover the pan or skillet with a well-fitting lid to trap the heat inside, mimicking an oven's enclosed space.
-
Bake the cake on low heat, adjusting the flame to just above the lowest setting. This gentle, steady heat allows the batter to cook through gradually and evenly.
Timing and Doneness
| Baking Time | Cake Size/Type |
|---|---|
| 20-32 minutes | Small to medium cakes |
| 45 minutes - 1 hour | Larger cakes or dense batters |
The baking time can vary depending on the size and density of the cake or baked item. To test for doneness:
- Insert a toothpick or knife into the center; it should come out clean when the cake is fully baked.
- Gently shake the pan; the cake should not jiggle or appear liquid in the center.
Post-Baking Steps
-
Once the cake passes the doneness test, immediately turn off the heat and remove the lid.
-
Allow the cake to cool for 5 minutes before attempting to remove it from the pan or skillet.
-
If the cake seems stuck, briefly place the pan back on the stovetop over low heat. The residual heat will help soften the fat and sugar, allowing the cake to release more easily.
-
Gently turn out the baked cake onto a plate or cooling rack, being careful not to break or damage it.
Remember, even if the stovetop baking process doesn't go perfectly, the end result will likely still be delicious. Higher-fat batters tend to develop a nice golden crust, while thinner batters may require a longer baking time to set in the center.
Removing and Cooling the Cake
Once the cake has finished baking on your ceramic cooktop, it's crucial to handle it properly to ensure it retains its perfect texture and shape. Here are the essential steps for removing and cooling your delicious homemade cake:
Checking for Doneness
-
Insert a toothpick or skewer into the center of the cake. If it comes out clean, with no wet batter clinging to it, your cake is fully baked.
-
Gently shake the pan. A fully baked cake should not jiggle or appear liquid in the center.
Initial Cooling
-
After removing the cake from the heat source, let it sit in the pan for 10-15 minutes. This initial cooling period allows the cake to firm up slightly, making it easier to remove from the pan without breaking or crumbling.
-
If the cake still feels too hot to handle after 10-15 minutes, let it cool for a few more minutes. Removing a cake that's too hot can cause it to fall apart or become misshapen.
Removing from the Pan
-
Once the cake has cooled slightly and feels manageable, place a cooling rack over the top of the pan.
-
Carefully flip the pan over, allowing the cake to release onto the cooling rack.
-
For cakes like angel food cake, which require cooling upside-down, simply leave the pan inverted on the cooling rack until the cake has cooled completely.
| Cake Type | Cooling Method |
|---|---|
| Standard Cakes | Cool in pan for 10-15 minutes, then remove to cooling rack |
| Angel Food Cake | Cool upside-down in pan on a cooling rack |
| Delicate Cakes | Cool in pan for 20-30 minutes before removing |
Final Cooling
-
Allow the cake to cool completely on the cooling rack, which can take up to an hour or more, depending on the size and density of the cake.
-
Avoid covering the cake while it cools, as this can trap moisture and lead to a soggy texture.
-
Once the cake has cooled to room temperature, it's ready for frosting, glazing, or serving as desired.
By following these steps, you'll ensure that your ceramic cooktop-baked cake retains its perfect texture, shape, and moisture level, making it a delicious and impressive homemade treat.
Conclusion
Baking delicious cakes on a ceramic cooktop is an achievable and rewarding experience. By following the necessary steps, from preparing the baking setup, making the batter, baking on the stovetop, and cooling the cake properly, you can create moist, flavorful homemade cakes without an oven. The key to success lies in understanding the nuances of stovetop baking, utilizing the right equipment, and exercising patience throughout the process.
While it may require some practice and adjustment, baking on a ceramic cooktop offers a unique opportunity to explore different flavors and techniques. With the right mindset and attention to detail, you can impress your loved ones with delectable homemade cakes, all while showcasing your culinary versatility and creativity. Embrace the challenge, and savor the delicious rewards of your stovetop baking adventures.