


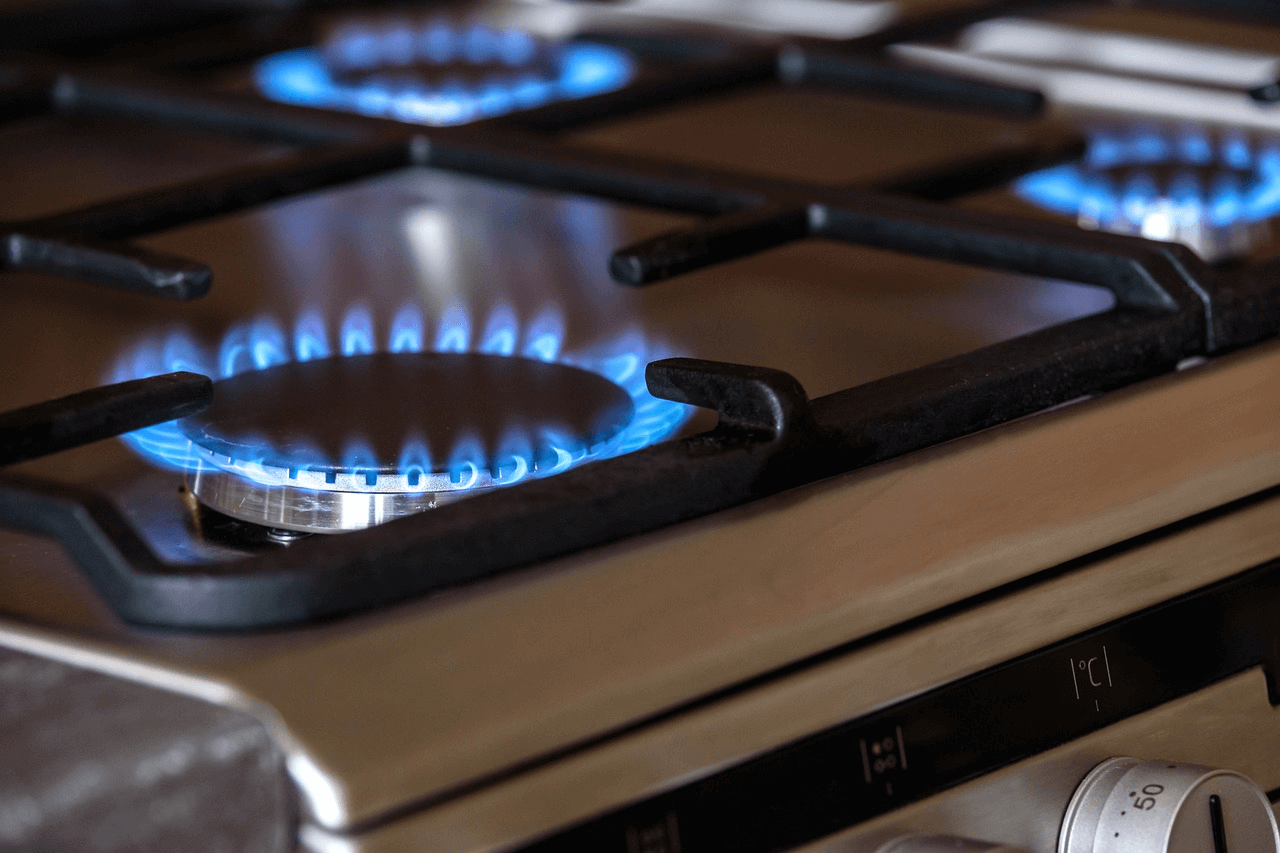

Gas cooktops are highly favored by homeowners seeking precision and efficiency in their culinary endeavors. Renowned for their instant heat control, they have become a cornerstone in contemporary kitchens. If you're contemplating the addition of a gas cooktop to your kitchen, it's imperative to take into account several pivotal factors to guarantee a seamless installation process. This article will delve into the essential considerations and steps to navigate the installation of a gas cooktop.
Gas and Electrical Requirements
When planning your installation, you'll need to provide for a ½-inch rigid gas line with a shutoff valve within 3 feet of the cooktop location. This allows for easy access to the gas supply and ensures safe operation. Additionally, an electrician will need to install a breaker-protected, 15-amp electrical circuit terminating in a grounded electric receptacle mounted in the cabinet space beneath the cooktop. This powers the spark igniters, allowing for easy and convenient ignition.
If you're replacing an existing gas cooktop with a new one of the same size, you likely already have the necessary gas and electrical connections in place.

Sizes and Installation Styles
Different cooktop models have controls located either on the top or front face of the unit. Cooktops with top controls are designed to be dropped into a cutout that is centered between the backsplash and the front edge of the countertop. On the other hand, cooktops with front controls require the front edge of the countertop to be completely removed to accommodate the control placement. Understanding these dimensions and control locations is crucial for proper installation and ensuring a seamless fit within your kitchen design.
Installing the Cooktop
Once you have prepared the gas and electrical connections, cut the countertop if necessary, and ensured proper clearances, you're ready to install the gas cooktop. Follow these steps to complete the installation:
- Line the inside edges of the cutout with reflective foil tape. This protects the countertop from heat damage and potential discoloration caused by the cooktop.
- Place the cooktop upside down on a protected surface.
- Apply pipe-joint compound onto the threads of the manifold entrance, which is the pipe protruding from the bottom or side of the cooktop.
- Thread the pressure regulator onto the manifold entrance, ensuring that the flow arrow points towards the cooktop. Tighten it securely with a wrench.
- Apply pipe-joint compound onto the threads of one of the flare union adaptors and thread it into the open end of the regulator. Hand tighten it and then give it a full turn with a wrench.
- Connect the flexible appliance connector hose to the flare union adaptor, applying pipe-joint compound to the connection.
- If your cooktop has a glass burner plate, apply foam tape on the underside of the cooktop's edges. This helps to create a secure and stable fit.
- Carefully turn the cooktop right-side up and place it into the cutout. Ensure that it is squared up with the front edge of the countertop.
- Install the hold-down brackets provided with the cooktop. Lie on the floor with your head, shoulders, and hands in the cabinet beneath the cooktop. Attach the brackets to the bottom of the cooktop and secure them with screws.
- Thread in the large screws that secure the cooktop against the bottom of the countertop. Tighten them just enough to hold the cooktop in place, avoiding over-tightening to prevent damage to the countertop.
-
With the cooktop securely installed, you can now complete the gas connection:
- Apply pipe-joint compound onto the remaining flare union adaptor and tighten it into the gas shutoff valve.
- Connect the free end of the flexible hose connector to the flare union adaptor.
- Turn the gas shutoff valve to the ON position.
Conclusion
In conclusion, the addition of a gas cooktop can significantly elevate the functionality and overall cooking experience in your kitchen. By meticulously addressing aspects like gas and electrical specifications, suitable sizes and installation methods, necessary clearances, and potential countertop adjustments, you can seamlessly integrate a gas cooktop into your culinary space. Adhering to the manufacturer's instructions, local codes, and regulations is paramount, and for intricate installations, it's advisable to seek professional assistance. With proper installation and routine upkeep, your gas cooktop will serve as a reliable and delightful companion for years of efficient cooking.