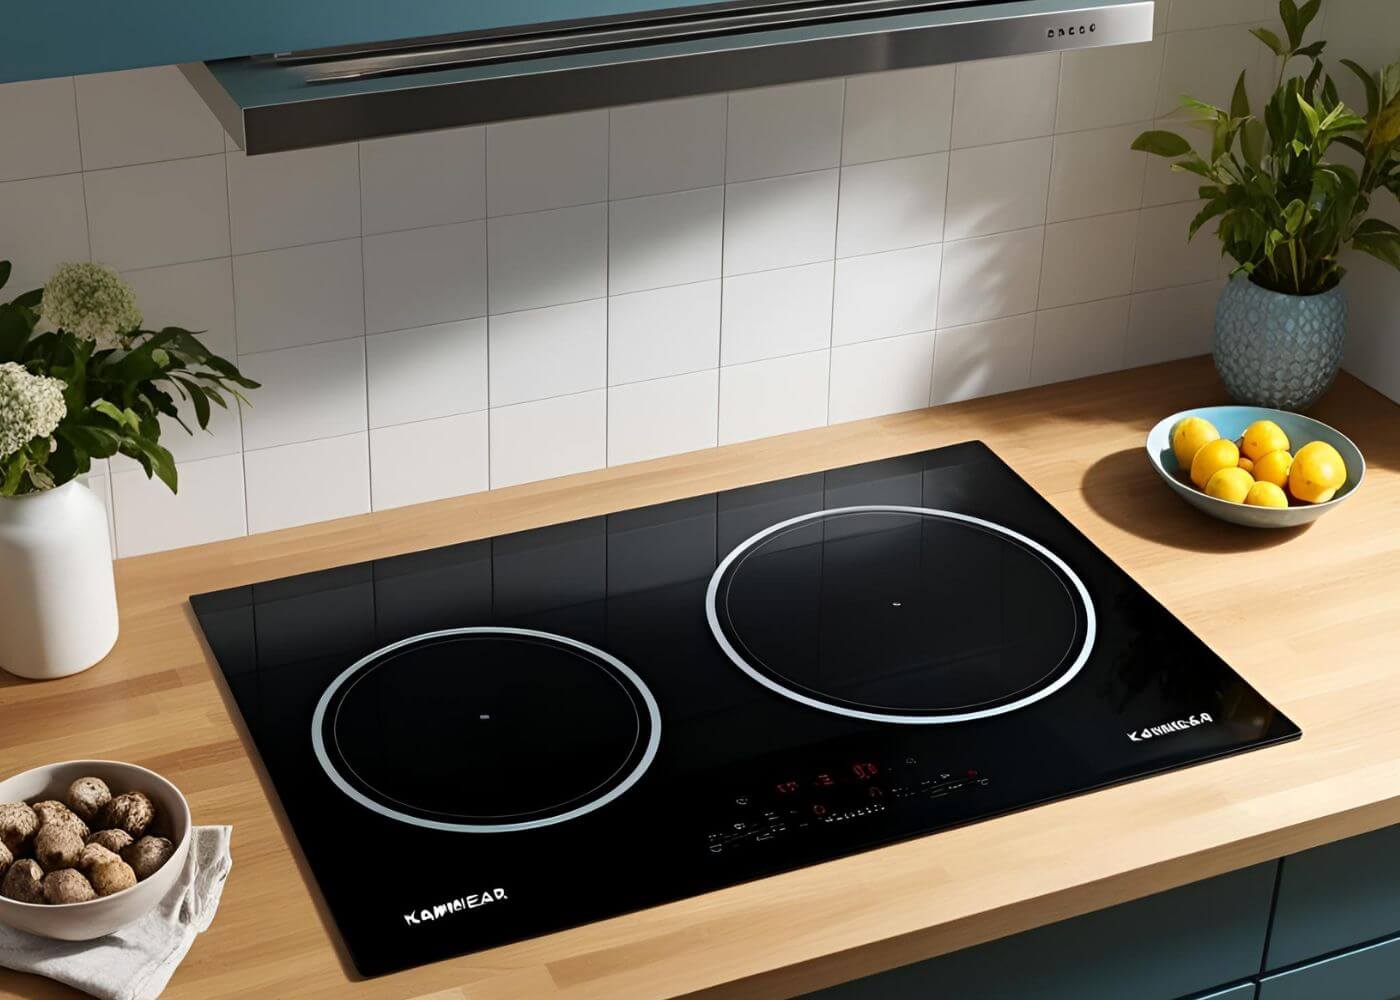


Installing the Electric Stove Top
With the old stove top removed, you're ready to install the new one. This process is essentially the reverse of the removal, but there are some important points to keep in mind to ensure a proper and safe installation.
Preparing the New Stove Top
Before you begin the installation, take a moment to prepare your new electric stove top:
- Unpack the new stove top carefully, checking for any damage during shipping.
- Review the installation instructions that came with your new stove top.
- Verify that all necessary parts and components are included.
- If your new stove top came with a template for installation, set it aside for use later.
Positioning the New Stove Top
Now it's time to place the new stove top into position:
- Carefully lower the new stove top into the opening, ensuring it's oriented correctly.
- If your model has a hinge at the back, make sure it's properly aligned.
- Gently lower the front of the stove top, but don't fully secure it yet.
Connecting Electrical Components
With the stove top in place, you can now reconnect the electrical components:
- Refer to the photo or diagram you made during the removal process.
- Connect each wire harness to its corresponding burner element.
- Ensure each connection is secure and properly seated.
- If any connections require screws, use your screwdriver to fasten them securely.
Installing Burner Elements and Drip Pans
Next, you'll install the individual components of your new electric stove top:
- Place each drip pan (burner bowl) into its designated spot.
- Install each burner element, ensuring it's properly seated in its receptacle.
- Gently press down on each element to ensure it's fully connected.
Securing the New Stove Top
The final step is to secure your new electric stove top in place:
- Lower the cooktop fully, aligning any screw holes.
- Replace and tighten all screws you removed during the disassembly process.
- Ensure the cooktop is level and properly aligned with the surrounding countertop.
Remember, it's crucial to follow the manufacturer's instructions closely during this process. Each model may have specific requirements or steps that are essential for proper installation and safe operation.
Testing and Troubleshooting
After installing your new electric stove top, it's essential to test it thoroughly to ensure everything is working correctly. This final step is crucial for both safety and functionality.
Reconnecting Power
Before you can test your new stove top, you need to restore power:
- Double-check that all connections are secure and no tools or debris are left in the stove.
- Close the oven door and ensure the cooktop is fully lowered and secured.
- Return to your circuit breaker box and switch the power back on to your kitchen or stove.
Initial Testing
Now it's time to test each component of your new electric stove top:
- Turn on each burner one at a time, starting with the lowest heat setting.
- Gradually increase the heat on each burner, checking for proper heating and temperature control.
- Test any additional features your new stove top may have, such as dual-zone burners or special cooking modes.
Common Issues and Solutions
If you encounter any problems during testing, here are some common issues and their potential solutions:
-
Burner not heating: Check the electrical connection to that specific burner. Ensure the element is properly seated in its receptacle.
-
Uneven heating: This could indicate a faulty burner element. Try swapping it with another burner to see if the problem follows the element.
-
Controls not responding: Verify that all control connections are secure. If the issue persists, there may be a problem with the control board.
-
Stove top not sitting level: Check the installation screws and adjust as necessary. Ensure no wires are caught or pinched under the stove top.
If you encounter any issues that you can't resolve, or if you're unsure about any aspect of the installation or operation, don't hesitate to contact a professional appliance technician.
Maintenance and Care
Now that your new electric stove top is installed and working correctly, it's important to know how to maintain it properly. Good maintenance practices will extend the life of your stove top and ensure it continues to function efficiently.
Regular Cleaning
Regular cleaning is crucial for maintaining your electric stove top:
- Clean spills immediately to prevent them from burning onto the surface.
- For coil burners, remove and clean the drip pans regularly.
- Use appropriate cleaning products for your stove top type. Avoid abrasive cleaners that could scratch the surface.
- For smooth top surfaces, use a scraper designed for glass cooktops to remove stubborn residues.
Preventive Maintenance
Some simple preventive measures can help keep your stove top in top condition:
- Avoid dragging heavy pots across the surface to prevent scratches.
- Use appropriate cookware sizes for each burner to maximize efficiency and prevent damage.
- Periodically check and tighten any loose connections or screws.
- Inspect the power cord regularly for any signs of wear or damage.
When to Seek Professional Help
While many stove top issues can be resolved with DIY methods, some situations require professional assistance:
- If you notice any burning smells or see smoke coming from the stove top.
- If a burner consistently fails to heat properly despite your troubleshooting efforts.
- If you experience frequent electrical issues, such as tripping circuit breakers.
- For any repairs that involve internal components beyond the surface elements.
Remember, when it comes to electrical appliances, safety should always be your primary concern. If you're ever in doubt, it's better to consult a professional than to risk injury or further damage to your appliance.